Self-timers have long been a feature of cameras since their earliest film days, including those built into your iPhone. Modern models still include timer functions that can prove invaluable when taking photographs in various situations; older iPhone models don’t yet include built-in timers but if your phone supports iOS 8 or newer, this setting should be available to you.
Why use a camera timer on an iPhone? If you want to take photos that go beyond selfie-style photos with arms extended outward, a self-timer provides time for you to get into position in front of the camera. Sometimes you need time to adjust something before the shutter goes off; using only one set of arms makes this more challenging; therefore self-timer helps in these instances.
Group photos provide great opportunities for self-timer photos. When there is no one present to take the photograph, using your iPhone photo timer allows the group to pose without anyone in front of the lens having to take one themselves. Longer timer options allow even large groups that require shots from far away be photographed as there will be enough time to set it up and run back into place after taking it.
Beyond selfies and group shots, a timer can also come in handy for other purposes. For instance, when shooting in darker conditions where no movement should occur when pressing the shutter button (such as tapping the screen or pushing on it can create unwanted camera shake), a timer is invaluable in keeping everything in its place and is especially handy if taking product shots that require either hand models or props being held into position during shooting.
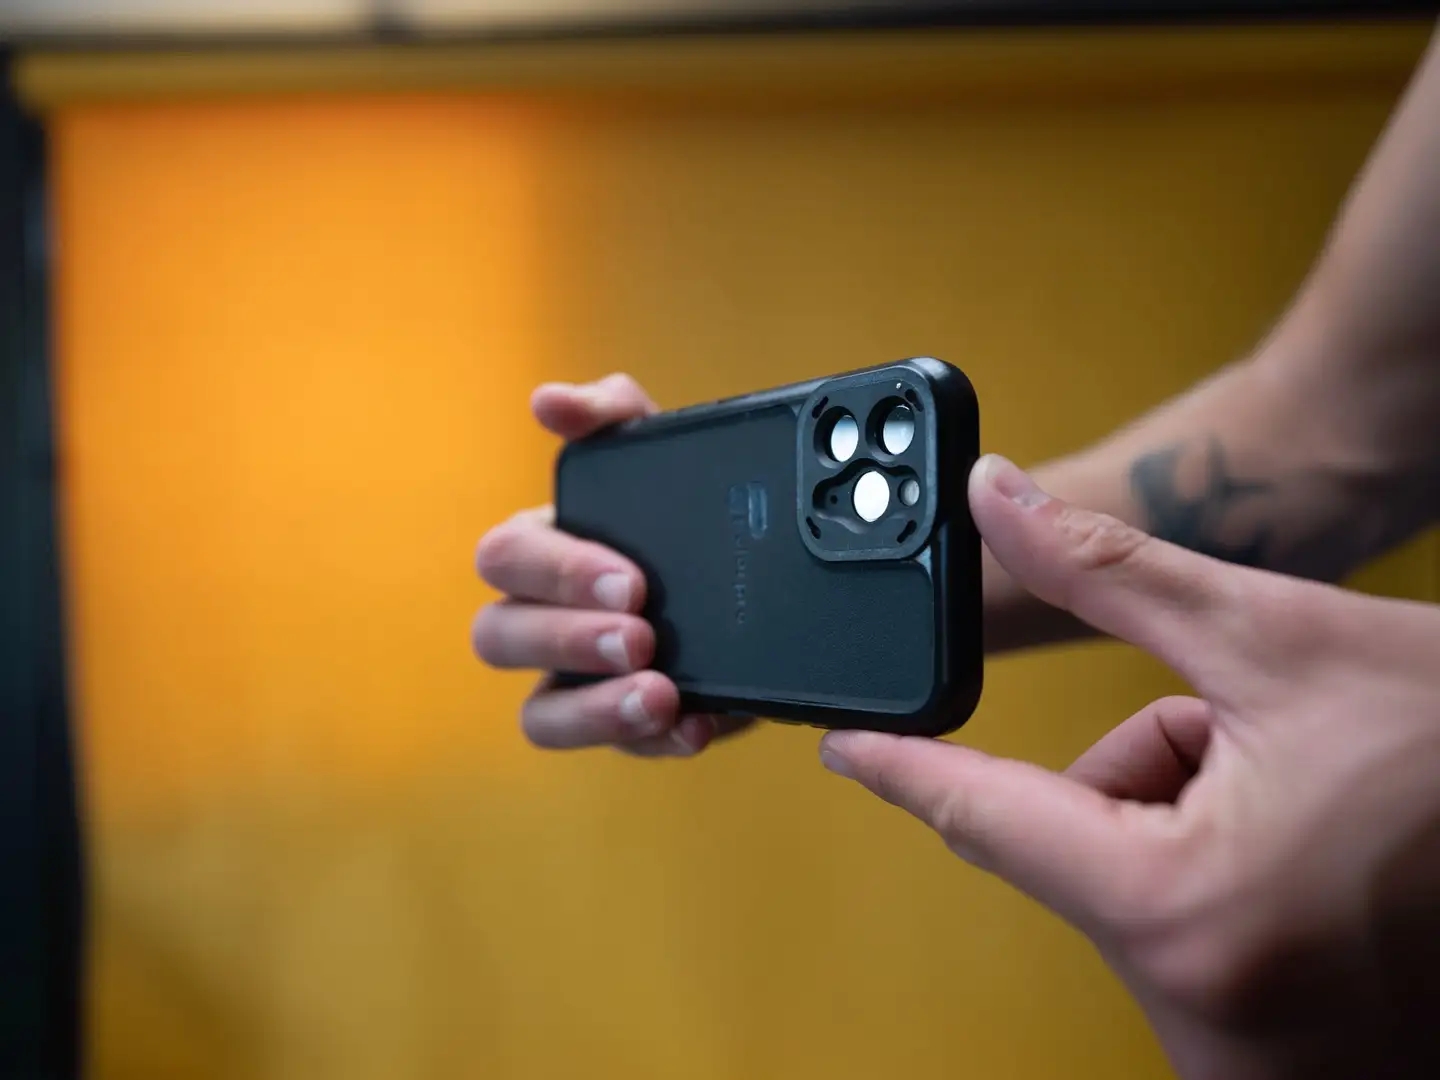
No matter why you are using the timer on your iPhone camera, one step is essential: setting your phone up securely in a stable manner. Lean it against something or wedge it against something to ensure that its camera won’t become obscured while also not sliding down, though you could always opt for using a tripod as well if necessary.
There are numerous phone-specific tripods and mounts on the market, as well as adapters that fit onto regular tripods, that do a fine job holding phones in place. Some small phone tripods designed specifically to be placed on tabletops or surfaces won’t extend very high; you’re limited by either their limited height, plus any surface you are on; others extend up to heights like regular camera tripods that might provide greater versatility than tabletops alone.
Set Up A Timer On An iPhone Camera
Launch the Camera app on your iPhone. Choose either Photo or Portrait mode; your timer will only work with these modes and either front- or rear-facing cameras.
Touch or swipe up from the camera mode menu at the bottom to access Mode Settings; on older iOS versions this may be at the top. To activate shutter timer mode, touch or tap its icon that looks like a stopwatch.
Set the timer to 3 seconds or 10 seconds. Note that once activated, the timer will remain active until turned off manually. Tilt your phone or other sturdy support, arrange the shot, frame and take.
Just tap the shutter button, which starts the timer, and get into position. A countdown will appear on screen; when it reaches zero, your phone will take one single picture; with Live Mode activated it will take 10 photos in rapid succession.

